Dataset Dashboard
The Datasets dashboard provides a comprehensive view for managing and monitoring your dataset tasks efficiently. This section offers an overview of the following key elements:
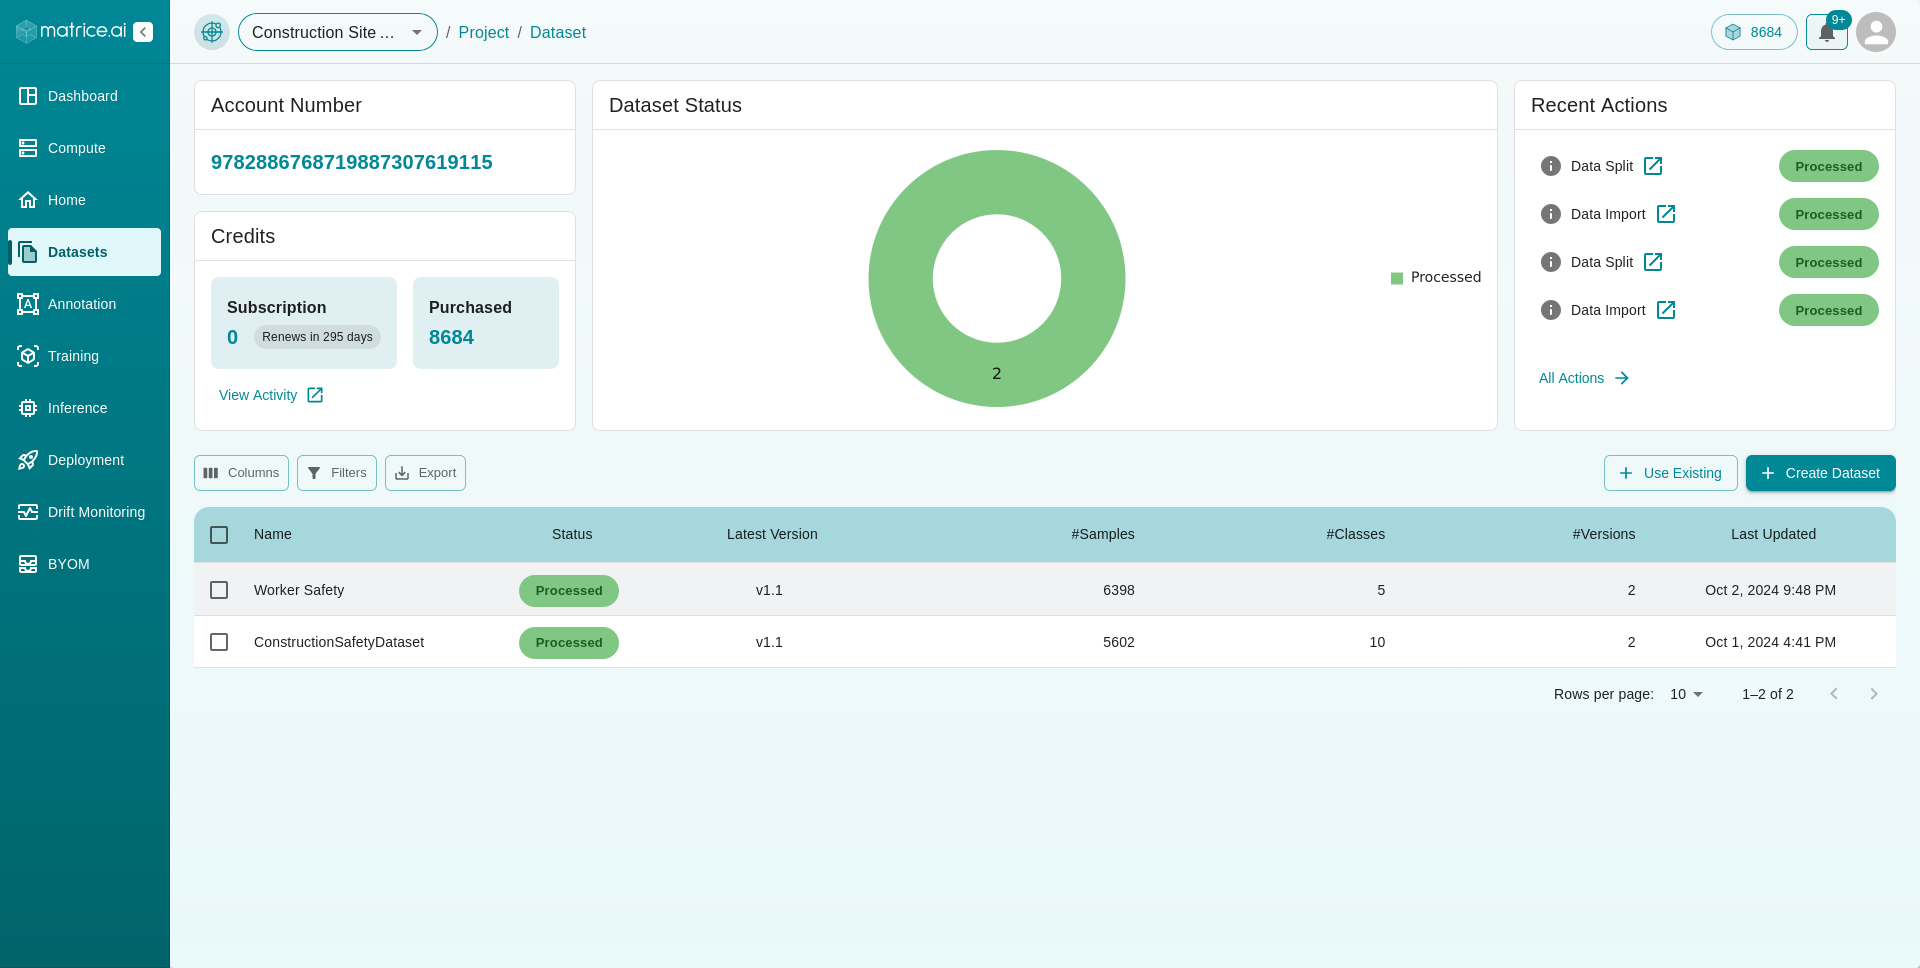
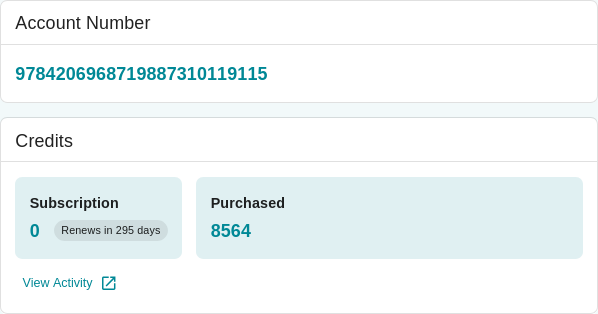
Account and Credits
Project ID: Displays your project id associated with current project.
Credits: Shows the remaining credits in your account, including details about your subscription and any purchased credits.
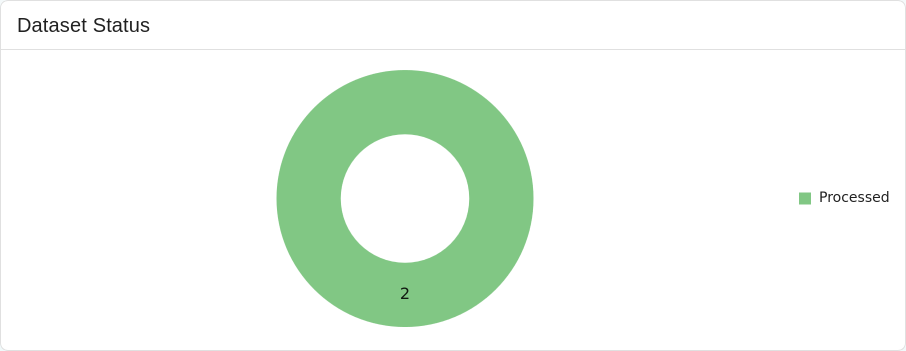
Dataset Status Visualization
A data visualization chart categorizes the status of your datasets into:
Queued
Processing
Processed
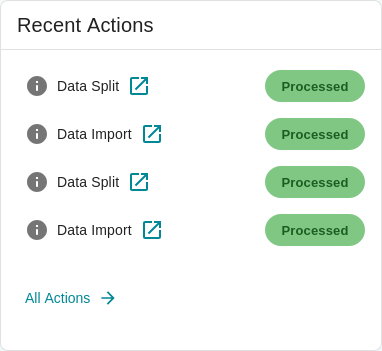
Recent Action
This section highlights your recent actions within the dataset section of your project, providing quick insights into your latest tasks associated with your datasets.
Dataset Table
This table lists the datasets within your project and includes the following information:

Name: The name of the dataset.
Status: Indicates whether the dataset is processed, queued, or in progress.
Latest Version: The current version of the dataset.
#Samples: The number of samples available in the dataset.
#Classes: The number of classes represented in the dataset.
#Versions: The number of versions available for the dataset.
Last Updated: The date and time when the dataset was last modified.
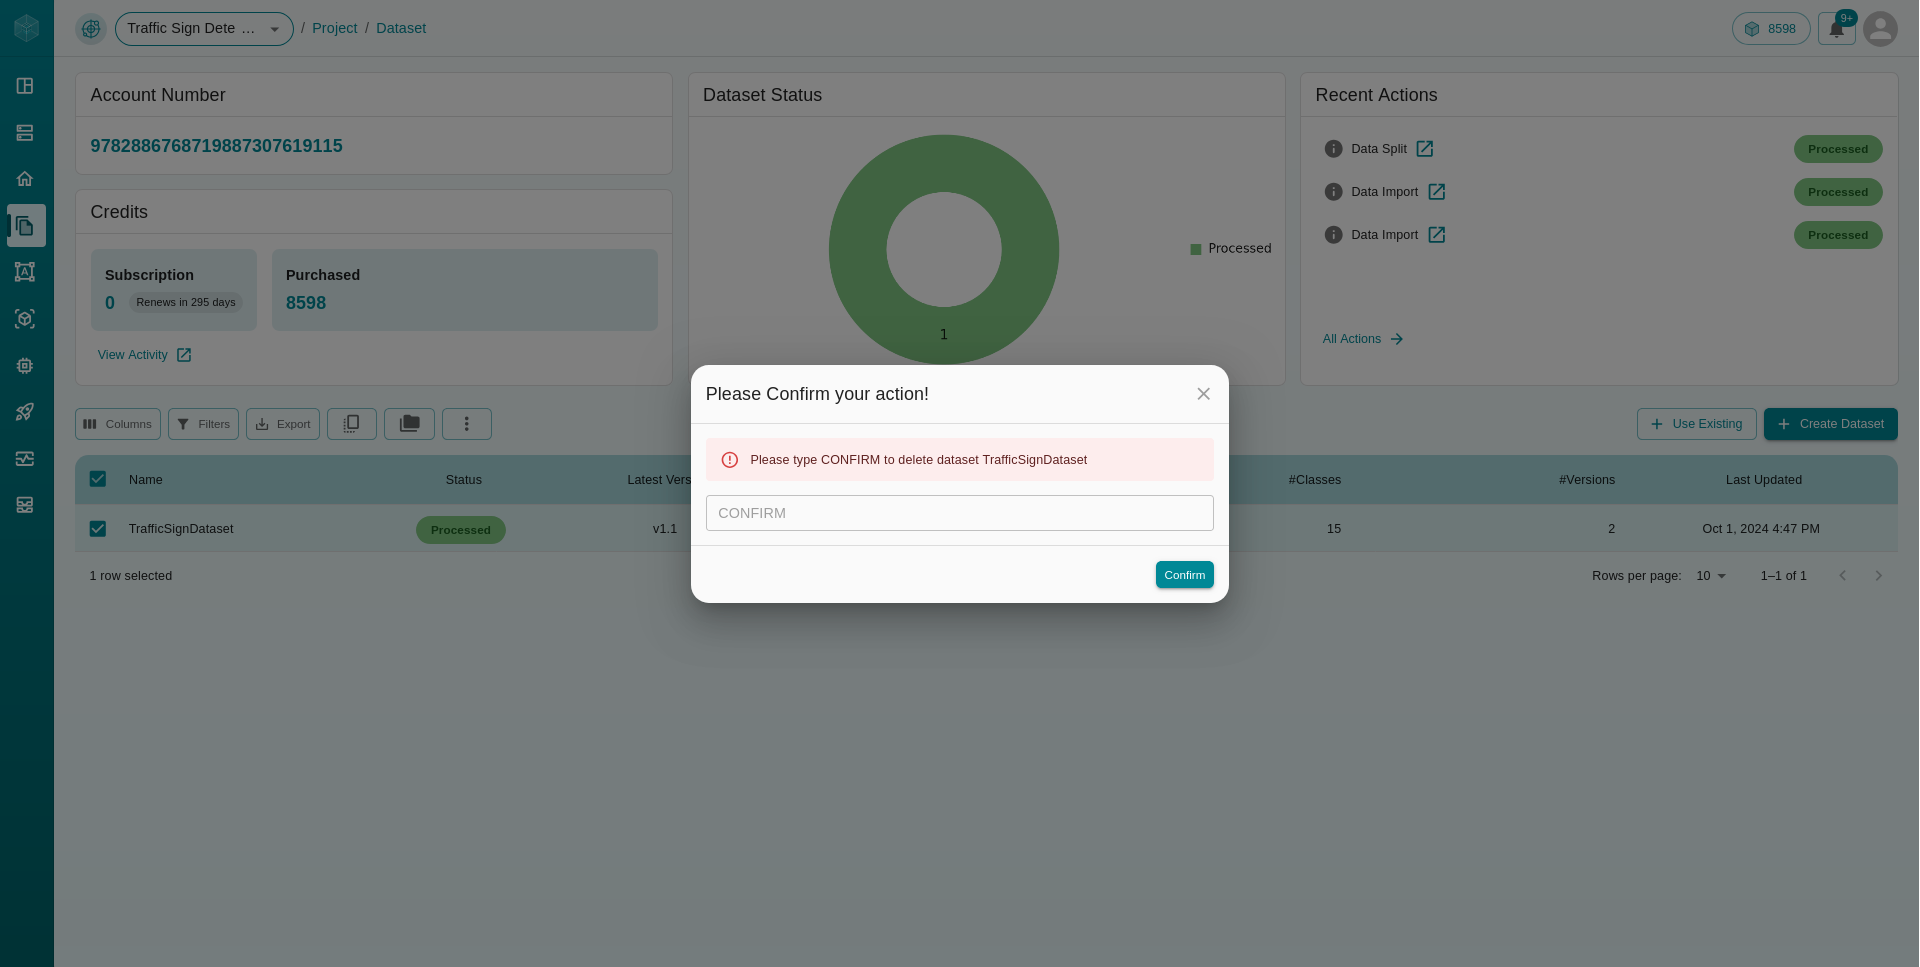
Delete your dataset
To delete a dataset, first click the
checkboxnext to the dataset you wish to delete in the dataset table section of your dashboard.

This will reveal a
three dotsmenu at the top left of the dataset table. Click on the three dots menu to see the option to delete the dataset.

Select the
Delete Datasetoption, and an alert will appear, prompting you to typeCONFIRMand then clickCONFIRMto delete the dataset.
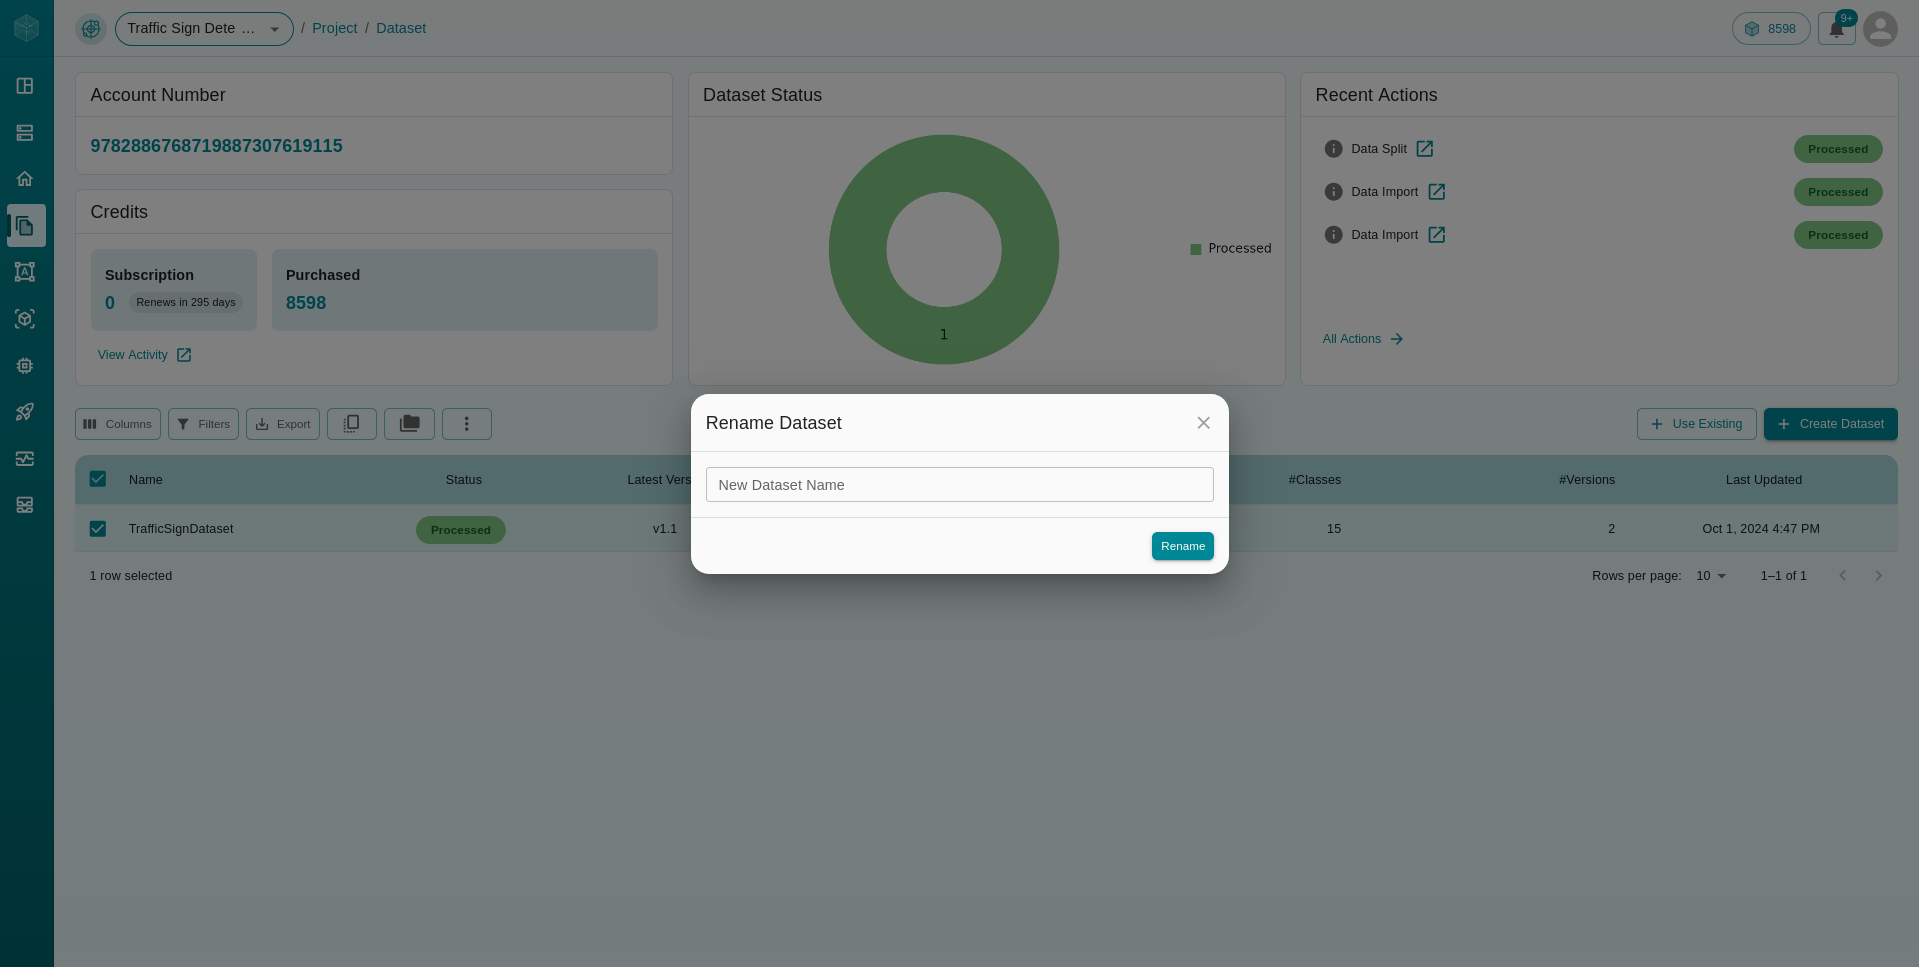
Rename your dataset
To rename a dataset, first click the
checkboxnext to the dataset you wish to rename in the dataset table section of your dashboard.
This will reveal a
three dotsmenu at the top left of the dataset table. Click on the three dots menu to see the option to rename the dataset.
Select the
Rename Datasetoption, and an alert will appear, prompting you to enter the provide a new dataset name, type your new dataset name and then clickRENAMEto rename the dataset.
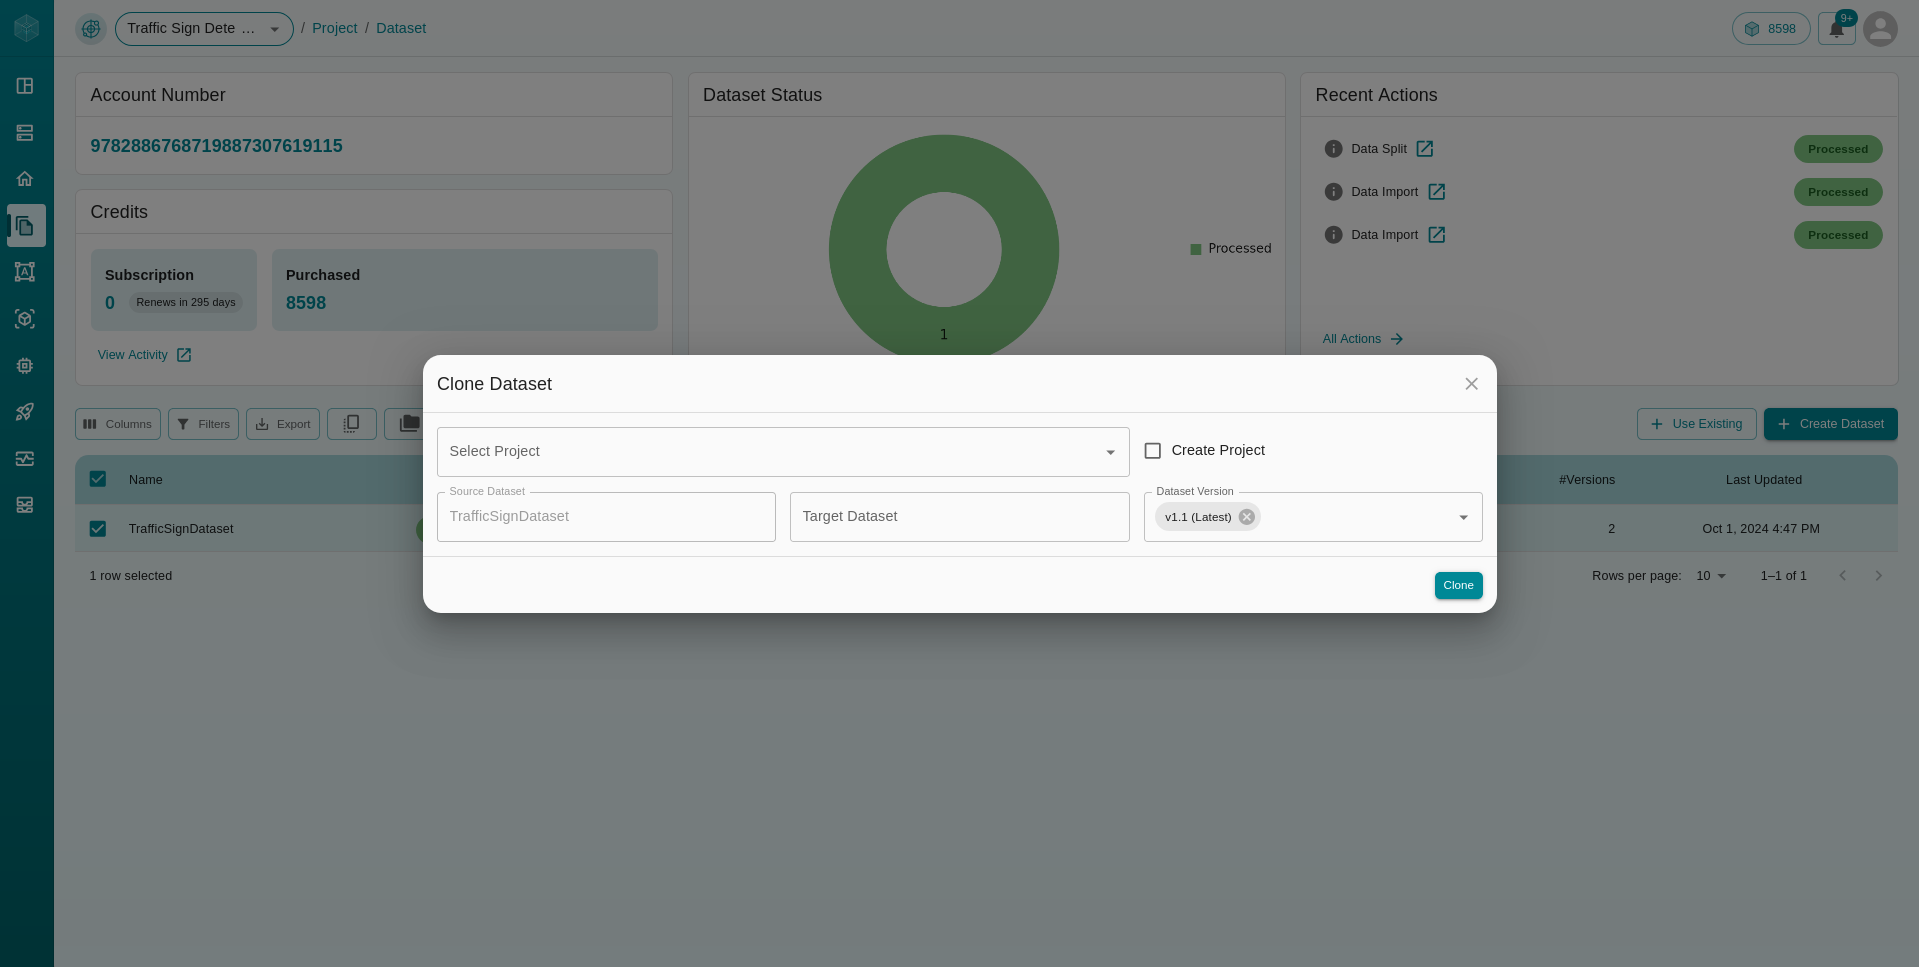
Clone a Dataset
To clone a dataset within an experiment, follow the same steps as deleting a dataset. Instead of clicking on the trash icon, select the clone icon at the top of the dataset sub-table. This will open a form where you can select the target project and specify a name for the cloned dataset. Once completed, click Clone to create a duplicate of the selected dataset within the current or chosen project.
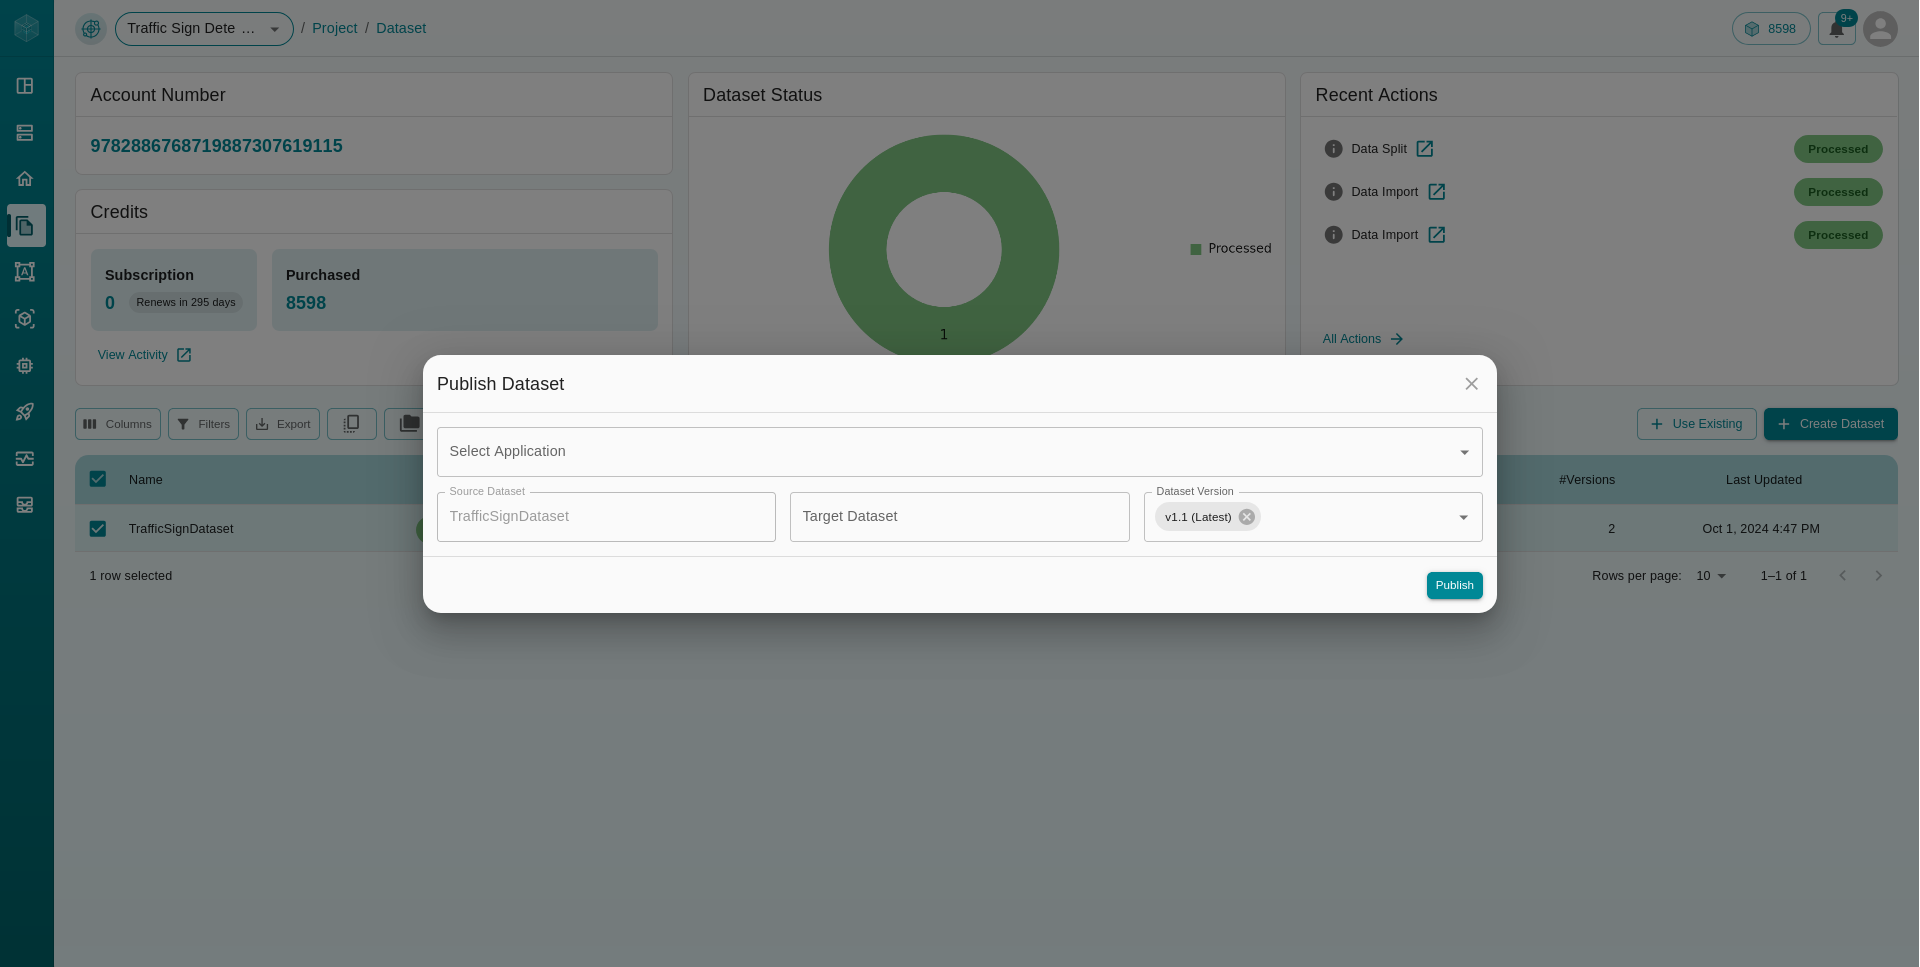
Publish a Dataset
To publish a dataset to the solutions tab, use the same steps as deleting a dataset. However, instead of clicking the trash icon, select the publish icon at the top of the dataset sub-table. This will open a form where you can choose the application for publishing and set the target dataset name. Once the details are filled, click Add to make the dataset available in the solutions section, accessible to others.